How to Install a Matix Diverter with Motion Sensor
The Matix diverter with motion sensor from Bticino represents a notable innovation in the field of residential home automation. Although it has only been introduced to the market recently, it has already gained significant popularity among users due to its notable benefits at an affordable cost.
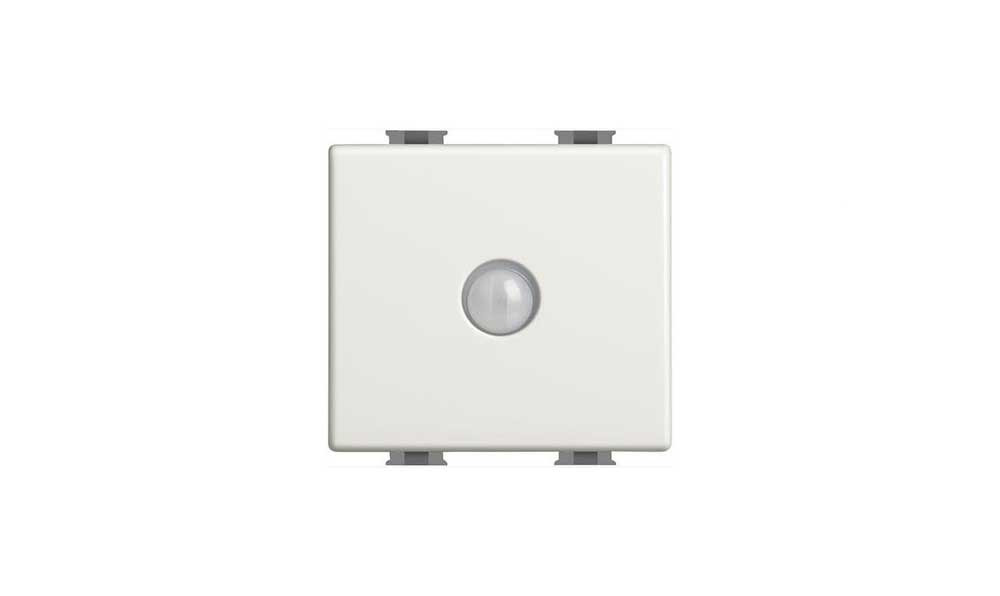
Main Features of the Matix Diverter
- Dual functionality: It acts like a common diverter allowing the light to be turned on from two different positions, but is enriched by an internal movement sensor.
- Energy Saving: The built-in motion sensor automatically turns off the light after 10 minutes of absence, contributing to a significant reduction in energy consumption.
- Easy Installation: It can easily replace a standard diverter and can also be used together with a traditional one, taking up the space of two seats.
- Manual Restart: Once turned off, the light does not automatically turn back on when motion is detected, but needs to be reactivated manually.
Operating Mode
Essentially, the Matix Diverter maintains the basic characteristics of a traditional diverter, allowing you to turn the light on or off manually. The main innovation lies in the motion sensor, which intervenes automatically with a view to energy saving, deactivating the lighting in the absence of people in the room for more than 10 minutes.
Installation Advantages
Installing a Matix Diverter with motion detector not only modernizes the lighting system in your home, but actively contributes to reducing consumption. For a small investment, you get a device that combines advanced technology and respect for the environment, marking a significant step towards intelligent home management.
Installation Guide for a Matix Diverter with Motion Detector
Installing a Matix AM5003ES Diverter is an operation that may seem complex, but by following the instructions step by step, it becomes a simple job within everyone's reach. Whether you're replacing an old device or installing a new one, here's how to proceed in both cases.
Replacement of the Existing Diverter
Replacing an already installed diverter with the new Matix Diverter is a linear process that requires attention especially in cable management. Here are the steps to follow:
- Detach the wires from the old device, taking care to correctly identify the cable mounted on the L terminal.
- Connect the cables to the new diverter by positioning the cable previously on the L terminal in the corresponding terminal of the new device. The other two cables can be inserted in no specific order.
Installation of a New Diverter
In the case of a new installation, however, carefully follow the instructions provided below to ensure correct and safe assembly:
- Bring two cables from terminals 1 and 2 of the first diverter to the corresponding terminals of the second diverter.
- The neutral wire must be connected directly to the lamp.
- The phase must be connected to the L terminal of one of the two deviators.
- Connect a cable to the L terminal of the second diverter, which must then be connected to the second terminal of the lamp.
By following these simple instructions, you will be able to install or replace your Matix AM5003ES Diverter without difficulty. Remember to always work carefully and disconnect the power before proceeding with any assembly or modification of the electrical system.

Comments (0)