Shopping Cart
There are no more items in your cart
- ELECTRICAL NEWS
- 0 likes
- 379 views
- 0 comments
How to assemble a LED ceiling light in 2 minutes
How to check if a ceiling light works?
In case you notice that your LED ceiling light is not working properly, do not rush to replace it immediately. There are some checks you can perform on both the switch and the ceiling light itself. One of the most common problems could be a burned out light bulb.
Let's see how to do it practically
First of all, for safety reasons, it is essential to disconnect the general meter and make sure that the electrical system is completely turned off. This step is crucial to avoid the risk of electrocution during checks.
Next, the first step consists in dismantling the ceiling light. With a screwdriver in hand, begin to remove the screws that secure the lamp to the ceiling, making sure to handle the glass cover carefully, if present.
Once the cover is removed, you will have direct access to the bulb and other internal components of the ceiling light, allowing you to check whether the bulb is actually burnt out or whether the problem lies elsewhere.
- Disconnect the general meter for safety
- Remove the ceiling light using a screwdriver
- Carefully remove the glass cover
- Check whether the light bulb is burnt out
Ceiling Light Troubleshooting Guide
When you have a problem with a ceiling light and you are sure that the bulb is working, it is essential to check other components to identify the cause. One of the first things to check is the cable connections.
Checking Cable Connections
A wrong or weak connection to the lamp holder terminals can be the cause of the malfunction of your ceiling light. Check that the clamps have not loosened and that the cables are not oxidized. These problems can cut off electrical power to the bulb, preventing it from working.
What to do if the cables are in good condition
If after checking the cables and terminals you find no anomalies, it may be necessary to consider replacing the lamp holder. Sometimes, the lamp holder can be defective or damaged, causing problems similar to those generated by faulty cables.
Replacing the Lamp Holder
The procedure for replacing the lamp holder is relatively simple and can be carried out in just a few steps.
Remove the ceiling light
- Start by unscrewing the ceiling light from its seat.
- Next, carefully disconnect the electrical cables from the old lamp holder.
- You can then connect a new lamp holder and reconnect it to the cables.
- After installing the new lamp holder, reassemble the ceiling light in its seat.
With these steps, you should be able to fix your ceiling light malfunction. However, if the problem persists, you may need to consult a professional electrician.
Interventions to Check the Functionality of the Ceiling Light
Examine the Switch
A crucial component not to be overlooked in the event of ceiling light malfunctions is the switch. Carrying out a check can prove decisive. The procedure consists of unscrewing the switch to access the internal connections. From here, the check will concern the condition of the cables, which must be well fixed and free of oxidation. This inspection is essential to ensure that the switch is functioning properly.
Checking the Cables
- Carefully unscrew the switch.
- Check that the cables are properly connected.
- Make sure there are no loose or corroded cables.
By following these simple instructions, you can quickly determine if the problem with your ceiling light lies in the switch. However, we would like to remind you of the importance of handling each electrical component with the utmost precaution, avoiding interventions in case of poor knowledge or experience with electricity.
When to contact a professional
In circumstances where the defect of the ceiling light persists despite the verification and possible adjustment of the switch, it is prudent to consider the intervention of a professional. A qualified electrician will be able to accurately diagnose the cause of the malfunction and proceed with the most appropriate repair, ensuring safety and functionality.
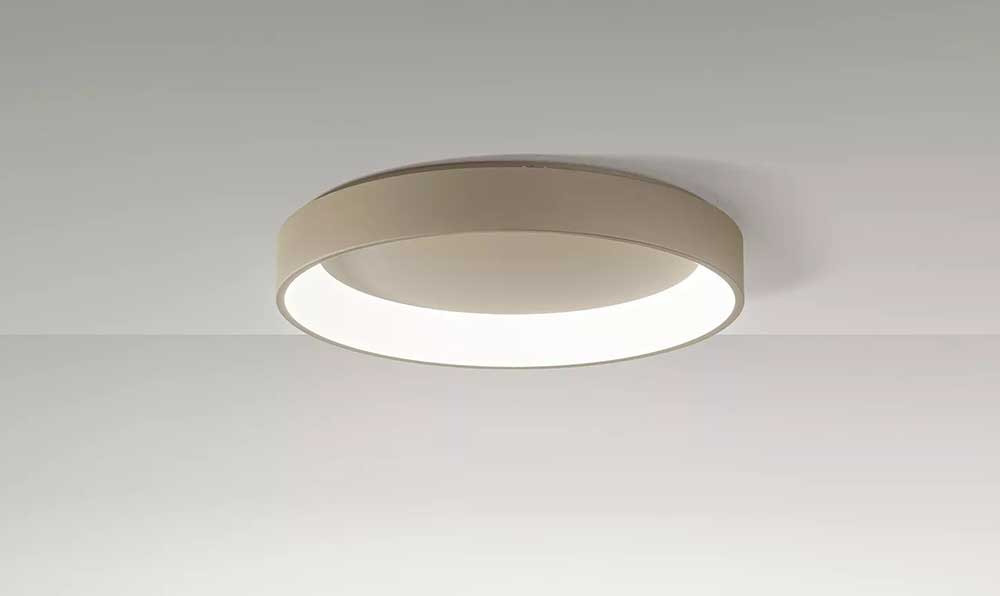
How to mount a ceiling light in 3 simple steps
If instead you wish to install a new ceiling light, we will now show you how to install it quickly and easily. As can also be seen from the following image, first of all, you need to disconnect the cables from the lamp holder, remove the bulb and detach the body of the ceiling light by unscrewing the central support screws.
Preparation and Disconnection
- Disconnect the cables from the lamp holder.
- Remove the bulb.
- Remove the body of the ceiling light by unscrewing the central support screws.
Installation of the LED ceiling light
The new generation ceiling lights are almost all LED, consequently, they all have a transformer on the back with the presence of the relevant phase (brown) and neutral (blue) cables, which must be respected in the connection.< /p>
Connect the cables with the clamp: The cables coming from the transformer will be connected to those of our system, using two for-box cap clamps.
- In the first terminal we connect the two neutral cables (blue).
- In the second, those of the (brown) phase.
After making the connections, we can place the ceiling light in its wall location.
Checking and turning on
Finally, to check that everything went correctly, we restore the electrical panel, and then try to turn on the light. This final step ensures that the installation is done correctly and that the ceiling light works as intended.
Comments (0)